Create your first booking
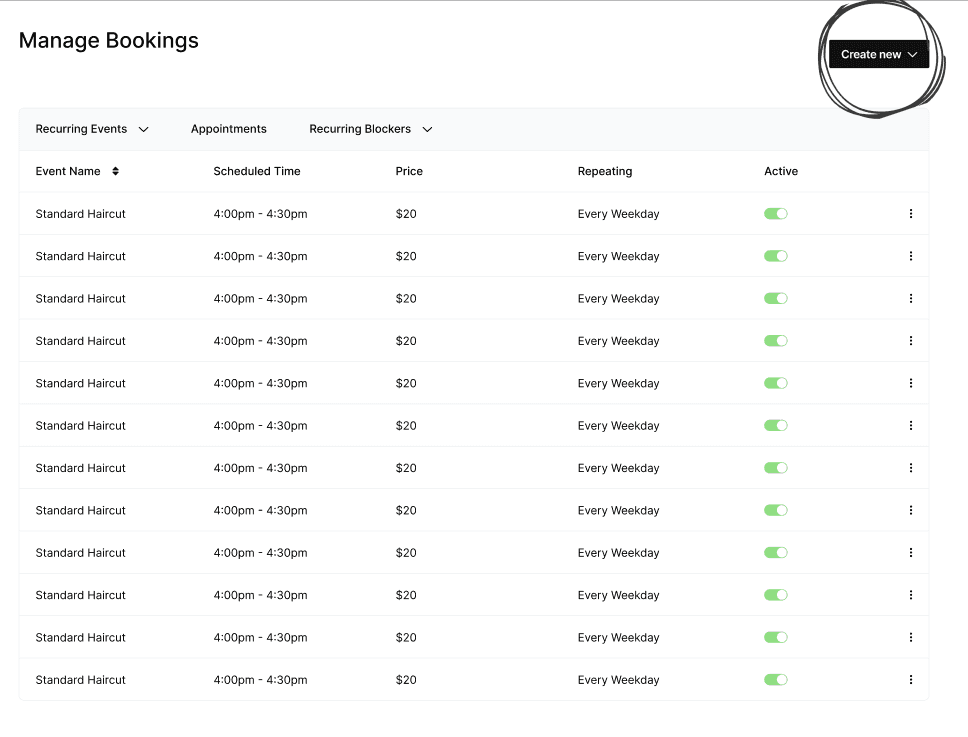
Start by creating your first event or appointment in Manage Bookings tab. Events are multi-person bookings at a set date and time. Example: Dance class, group tour. Appointments are single-person bookings that clients can choose a time for based on your availability. Example: haircut, one-on-one tutoring.
(Optionally) set up online payment gateway
If you onboard your business onto Stripe, you can optionally set your booking price to be a value greater than $0, and when your clients go to book you, they will first be prompted to pay before they can book on your calendar.This money immediately hits your Stripe account, which you can then transfer to your bank account.
Share your booking link
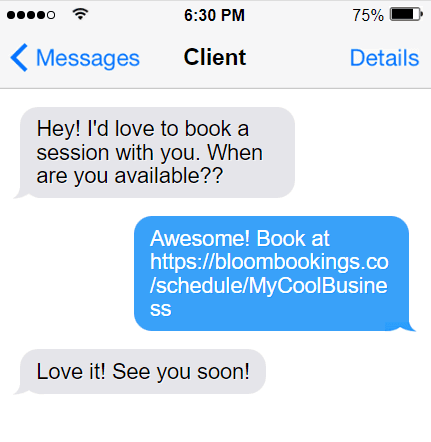
When you create a booking, it will automatically show up on your personal online booking scheduler webpage for clients to book. You can find your personal link in the Settings tab, or if you have an existing website, you can use the embedded HTML code to paste it right into your website so your clients can book directly on your website!

Watch customers flood in
Once you share your booking scheduler with your clients, they’re able to select from all the bookings you created, a day & timezone-adjusted time, fill out their necessary customer information, and optionally pay. Once that happens, they’re automatically sent a confirmation email / text message and they show up right on your calendar! Optionally receive emails / texts whenever a client books onto your calendar.
"How do I manage all my clients?"
See Client Management

